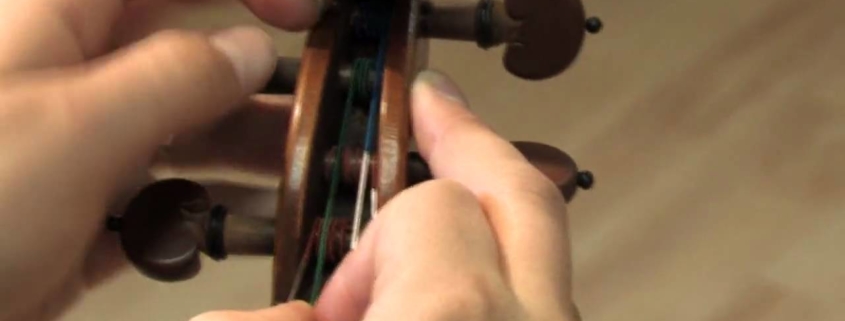
How to change a violin string
Step-by-step guide to changing a violin string:
Before changing the string, make sure you have ready the new string, a soft pencil and sticky tape (about 4 cm long).
1. Unwind the tuning peg and remove the old/broken string. Be careful not to scratch the varnish.
2. Use the pencil to lubricate the bridge and nut where the string makes contact. The goal is to allow the string to pass easily over the nut and bridge as it is tuned up to pitch. If using an E string with a bridge protector (little piece of plastic that slides up and down the string) then don’t lubricate the bridge under the E string.
3. Run the string between your thumb and index finger, removing any twist in the string, and attach the end of the string to the tailpiece or fine-tuner.
4. Hold the string firmly at the end of the fingerboard and fix it temporarily with the sticky tape.
5. Place the string carefully in the appropriate peg hole. Check to see that the string is running directly from the peg to the nut to the bridge to the tailpiece, not twisted with another string or wrapped around anything it shouldn’t be. Wind the peg to remove the slack, and place a small amount of tension on the string. Thread the end of the string through the peg-hole so that a small amount (approximately 1 mm) sticks out the other side of the peg.


